

Quality conversations become clearer when everyone refers to the same part, drawing and review criteria. This mock editorial walks through an example inspection workflow for a molded rubber component. It illustrates how to organize a review, rather than reporting the results of an actual customer order.
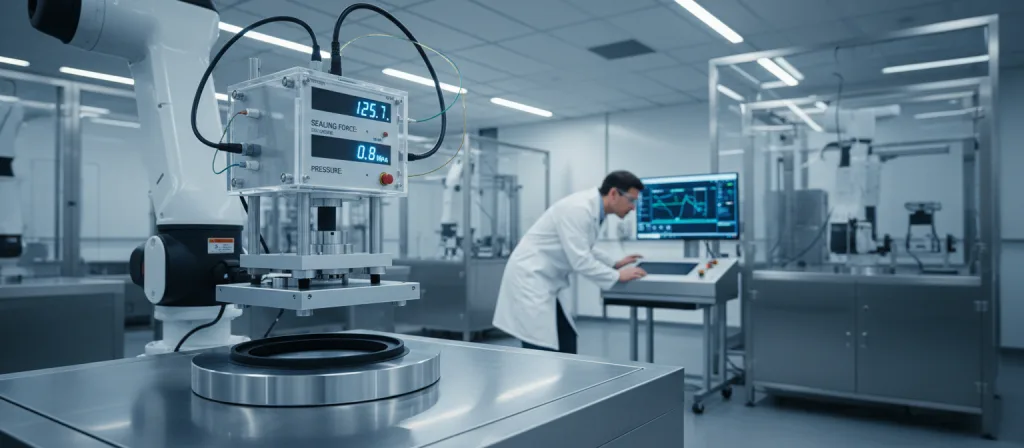
Define what the review needs to answer
An inspection checklist should describe the questions for the current project. Start with the agreed drawing and the intended assembly, then identify which observations need to be recorded for the next decision.
Separate the types of checks
Keep appearance, dimensions and assembly observations in clearly named sections. This makes the report easier to navigate and avoids treating one kind of result as a substitute for another. Include a place for comments when the reviewer needs to explain an unusual observation.
Use an agreed reference
Attach the drawing revision and any approved visual reference to the review package. If two documents disagree, flag the difference before the inspection starts. A clearly identified reference gives the supplier and customer the same basis for discussing the findings.
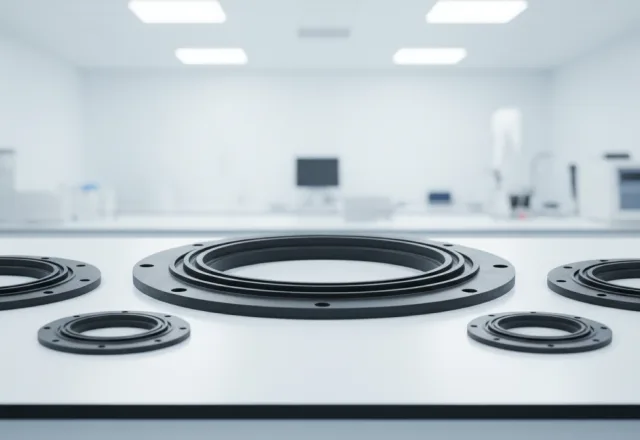
Make observations easy to trace
A useful report connects each observation with the part that was examined. In this example, sample labels and photographs help the team revisit an issue without relying on memory or an unlabelled image in a message thread.
Label samples and photographs
Assign a simple identifier to each sample and include it in the photograph file name. Show both the overall part and the detail being discussed. Place a note beside the image explaining the location, so another reviewer can find the same feature.
Capture the review context
Record who performed the check, when it took place and which reference was used. Where a result depends on a particular setup, describe that setup in the report. Keep the original observations available alongside any later interpretation or proposed corrective action.
Use the findings to guide the next action
The report should end with a clear status for each open item. A short action list is easier to work with than a collection of disconnected images, especially when several people are reviewing the same sample set.
Assign owners to open items
For every unresolved observation, name the person who will follow up and the information needed to close it. Distinguish a request for clarification from a request for a design change. This keeps the next review focused on decisions that can actually be made.
Preserve the review history
Store the original report and the updated response together. When an item is closed, add the explanation and the associated revision. Future reviewers can then understand why the decision was made without assuming that a missing comment means the part was accepted.