

A useful sample starts with a clear brief. This demonstration article follows a fictional rubber component project, showing how drawings, questions and review notes can stay connected as the design develops. The aim is to make each decision easy for the purchasing and engineering teams to understand.
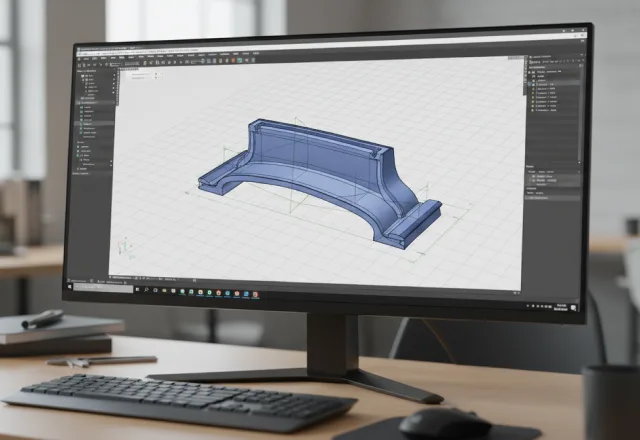
Start with a shared design brief
Before discussing a sample schedule, gather the information that explains what the part needs to do. A short, well-organized brief gives the project team a common reference and makes missing details easier to spot.
Describe the assembly
Include the surrounding components, the installation sequence and the space available for the rubber part. Mark the surfaces that touch the seal. An annotated assembly image can communicate relationships that are difficult to show in a single isolated part drawing.
Identify the current revision
Give each drawing a revision and a date, then name the person responsible for approving changes. Keep reference samples separate from approved specifications. If a dimension is still being discussed, label it as an open question instead of letting it look final.
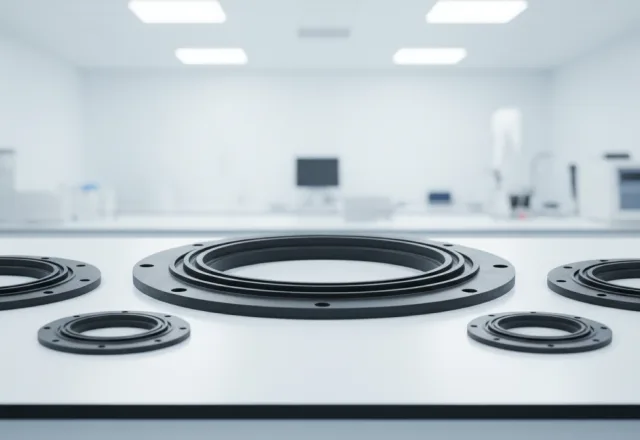
Turn the brief into a sample plan
The sample plan connects the design to a review that can actually be completed. For this example, the team records what will be supplied, what will be checked and which decisions remain open before production can be considered.
Agree on the review scope
List the features to inspect and the assembly observations to record. Separate appearance review from dimensional and functional evaluation. The people receiving the samples should know which questions the current iteration is intended to answer and which require a later review.
Keep feedback specific
Photograph each observation and link it to a sample identifier and drawing location. Replace comments such as 'too tight' with a description of the assembly step and the observed behavior. Specific feedback is easier to compare when the next sample arrives.
Close the loop before the next stage
A sample review is most useful when its outcome is recorded in one place. A clear handover helps the next team member understand what was accepted, what changed and what still needs attention.
Record the agreed changes
Update the drawing and the issue list together. For each change, record the reason, the owner and the next review action. Keep earlier sample notes available so the team can trace how the design moved from the first proposal to the current version.
Prepare the handover package
Collect the current drawing, sample identifiers, review notes and approval status. Add the packaging expectations and the contact for outstanding questions. This creates a practical starting point for the next conversation without presenting an unfinished sample as an approved production part.