

In this fictional project, a team is reviewing a gasket for an equipment housing. The housing drawing is available, but several assembly details still need clarification. The article uses that situation to illustrate a practical conversation between purchasing, design and the supplier without presenting a real customer result.
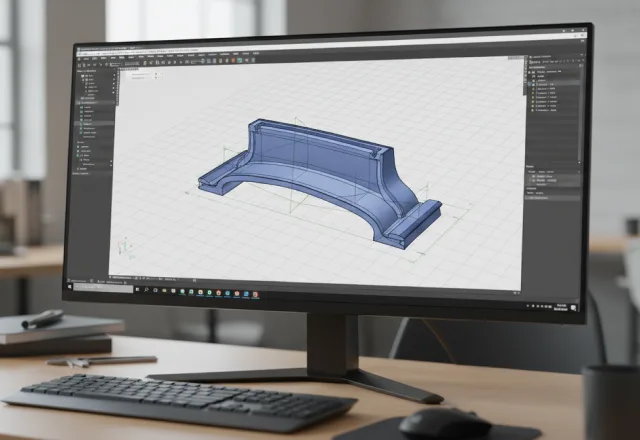
Put the housing details in context
The team gathers the views needed to explain the gasket's position. A common reference helps participants discuss the same edge, corner and opening instead of relying on different interpretations of a single screenshot.
Show the complete interface
Provide the cover and housing views alongside the gasket outline. Mark the areas where the parts meet and identify features that are still being developed. A clear interface drawing allows open questions to be attached to an exact location rather than described loosely in an email.
Clarify corners and openings
Ask the drawing owner to confirm details around corners, fasteners and any interruptions in the gasket path. Record the answer on the current revision. The example team treats these as design questions to resolve before asking a sample to answer every uncertainty.
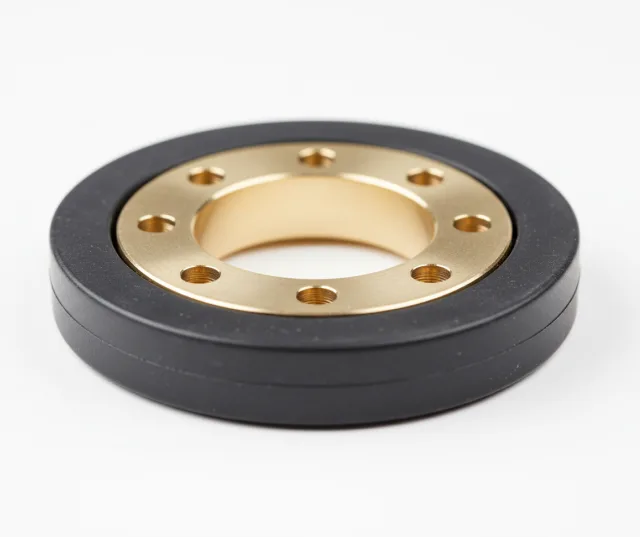
Review the sample in the intended assembly
An isolated sample can help with some observations, while the assembled housing provides a different view. The mock review records both contexts so that comments can be interpreted in the situation where they were made.
Use consistent review photographs
Take an overall image followed by close-ups of the locations under discussion. Use the sample identifier and drawing reference in each caption. This keeps the images useful after the meeting and helps another reviewer understand which part of the assembly is being shown.
Separate observations from proposals
Write down what was observed before suggesting a change. Then add the proposed revision as a separate action for the drawing owner to review. This prevents a quick suggestion during a sample meeting from being mistaken for an already approved design instruction.
Prepare a clear revision handover
The next iteration needs more than a new outline. The team records the reasons for the update and the questions the revised sample should answer, so the review can build on the previous work.
Link each revision to its reason
Keep a short table of changed features and the observations that prompted them. Reference the associated photographs and the person who confirmed the change. The revised drawing then has a readable history, rather than appearing as a new file with an unexplained shape difference.
Keep approval status visible
Label the package as under review until the responsible participants have completed their checks. List any remaining actions in the handover note. This fictional case closes with a documented next step, leaving application approval to the appropriate project review rather than claiming a finished result.